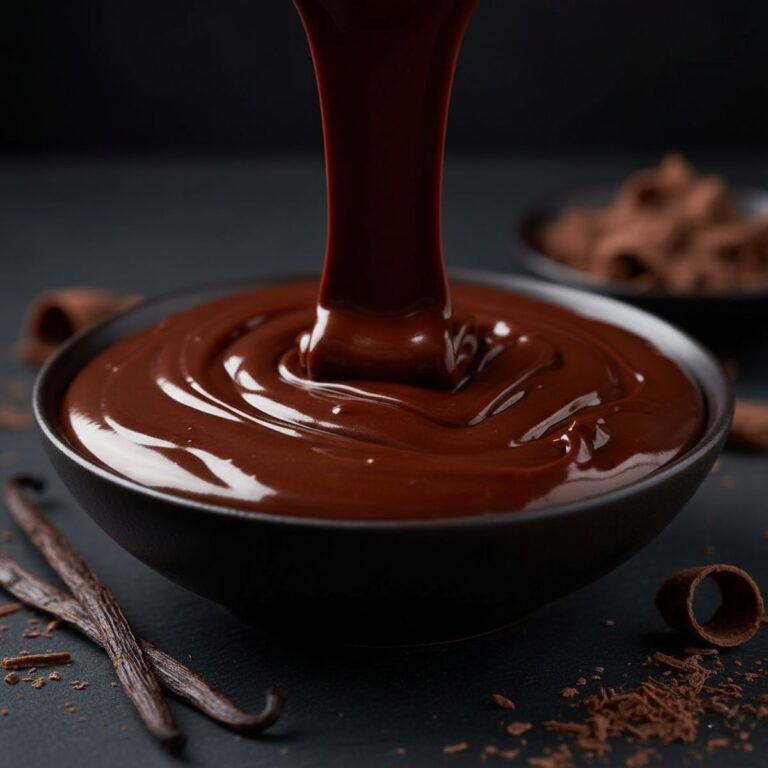
If you’re looking for a no-bake dessert that’s creamy, chocolatey, and irresistibly fun, this dirt pudding recipe is a must-try. Layers of crushed Oreo cookies, rich chocolate pudding, and smooth whipped topping come together to create a dessert that’s both nostalgic and crowd-pleasing. Whether you’re making it for a family gathering, birthday party, or just a weekend treat, this classic recipe delivers every time. Plus, it’s incredibly easy to customize with gummy worms, candy toppings, or themed decorations for holidays and events.
Ingredients
- 1 package (14 oz) Oreo cookies, crushed
- 2 packages (3.9 oz each) instant chocolate pudding mix
- 4 cups cold milk
- 1 package (8 oz) cream cheese, softened
- 1 cup powdered sugar
- 1 container (8 oz) whipped topping (like Cool Whip), thawed
- 1 teaspoon vanilla extract
- Optional: gummy worms, chocolate shavings, or candy decorations
Step-by-Step Instructions
- Prepare the cookies:
Place Oreos in a large zip-top bag and crush them using a rolling pin until fine crumbs form. Set aside. - Make the pudding:
In a large mixing bowl, whisk together the instant pudding mix and cold milk for 2–3 minutes until thickened. Chill in the refrigerator while preparing the next layer. - Prepare the cream cheese mixture:
In a separate bowl, beat the softened cream cheese, powdered sugar, and vanilla extract until smooth and creamy. - Combine the mixtures:
Fold the chilled pudding and whipped topping into the cream cheese mixture. Stir gently until fully combined. - Layer the dessert:
In a large trifle dish, bowl, or individual cups, layer crushed Oreos, pudding mixture, and more Oreos on top. Repeat layers if desired. - Add toppings:
Finish with a generous layer of cookie “dirt” on top and garnish with gummy worms or themed candies for fun. - Chill and serve:
Refrigerate for at least 1 hour before serving to let the flavors meld together. Serve chilled and enjoy!
Nutrition Facts
| Nutrient | Amount per Serving |
| Calories | 350 kcal |
| Protein | 5 g |
| Carbohydrates | 42 g |
| Fat | 18 g |
| Fiber | 1 g |
(Nutrition values are approximate and may vary based on ingredients used.)
Tips & Variations
- Make it spooky: Add candy bones or tombstone cookies for a Halloween-themed dirt pudding.
- Lighten it up: Use sugar-free pudding mix and reduced-fat cream cheese for a lower-calorie version.
- Add layers: Alternate between chocolate and vanilla pudding for a marble effect.
- Kid-friendly cups: Serve in clear plastic cups with a gummy worm “garden” on top for a fun party treat.
- Go gourmet: Add a drizzle of caramel sauce or a sprinkle of sea salt for a richer flavor.
Serving Suggestions
This dirt pudding recipe is perfect for birthday parties, BBQs, potlucks, and holiday gatherings. Serve it in a large trifle bowl for a show-stopping centerpiece or in individual mason jars for easy, grab-and-go portions. For a whimsical touch, serve with small plastic shovels as spoons—it’ll be a hit with kids and adults alike!
FAQs
Q1: Can I make dirt pudding ahead of time?
Yes! Dirt pudding can be made up to 24 hours in advance. Keep it covered and refrigerated until ready to serve.
Q2: Can I use homemade pudding instead of instant pudding?
Absolutely. Just make sure the pudding is fully chilled and thickened before layering.
Q3: How do I store leftovers?
Store any leftovers in an airtight container in the refrigerator for up to 3 days. Avoid freezing, as it can affect the texture.
Q4: Can I make this dirt pudding recipe dairy-free?
Yes! Use dairy-free pudding mix, plant-based milk, and coconut whipped topping for a vegan-friendly version.
Conclusion
This dirt pudding recipe is the ultimate no-bake dessert that combines creamy layers and crunchy texture for a treat everyone loves. Simple to make, endlessly customizable, and perfect for any occasion—this recipe proves that dessert doesn’t have to be complicated to be delicious. Try it once, and it’s sure to become a family favorite!


